Minigolf Blacklight Funpark Pleinfeld
Sights around the Brombachsee. Minigolf – Funpark Schwarzlicht Pleinfeld.
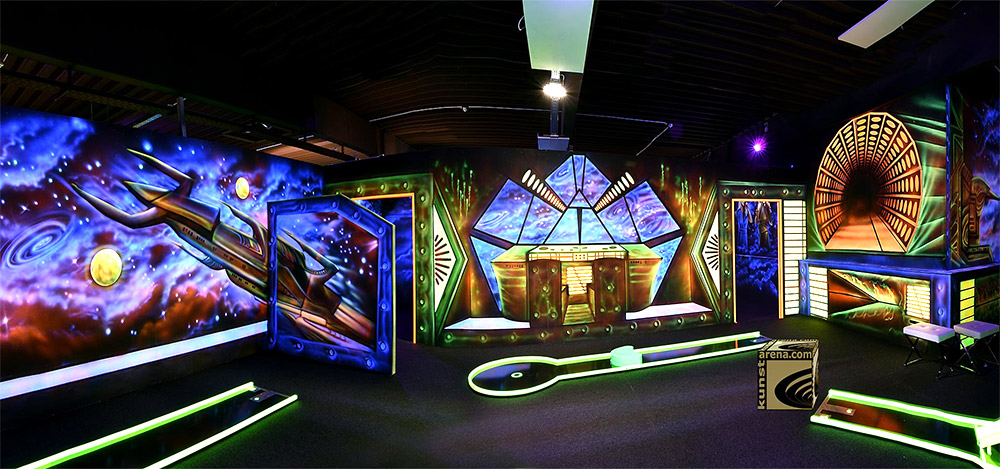
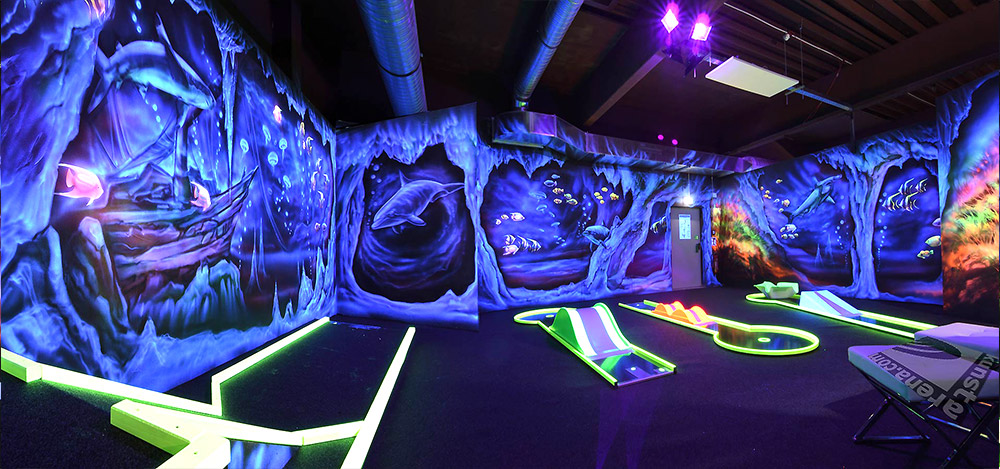
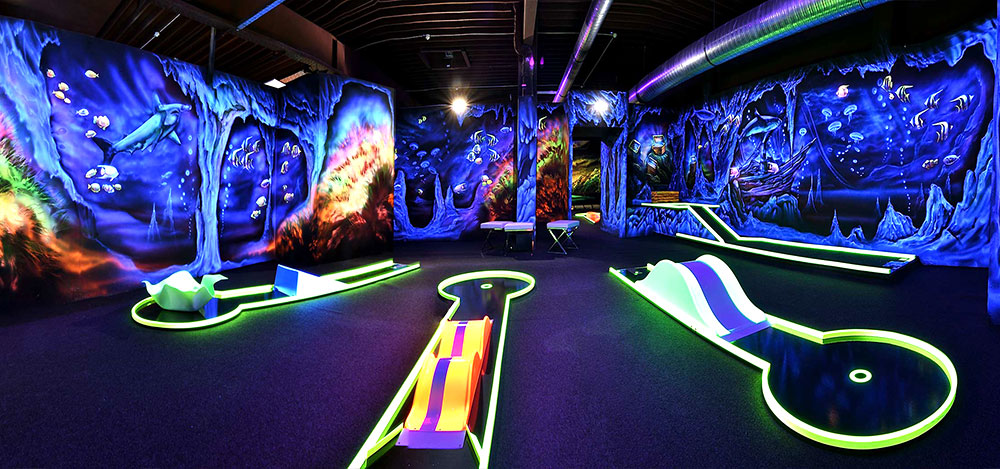
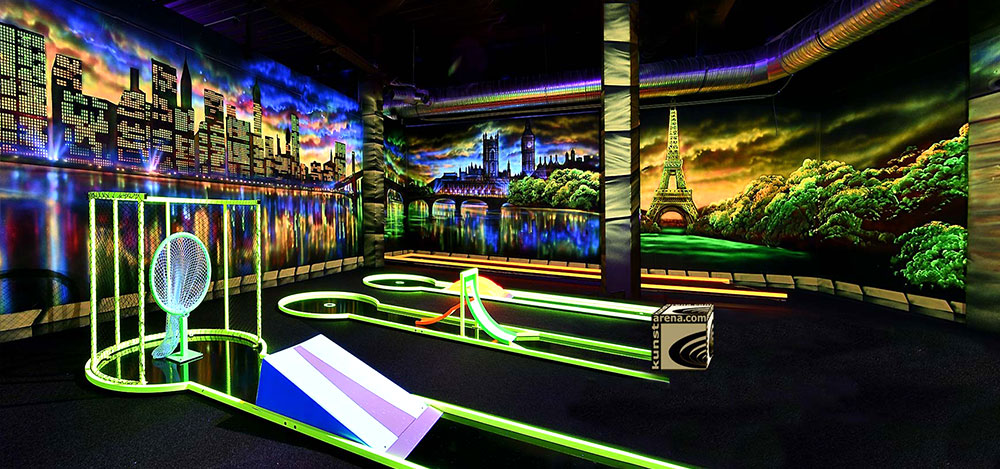
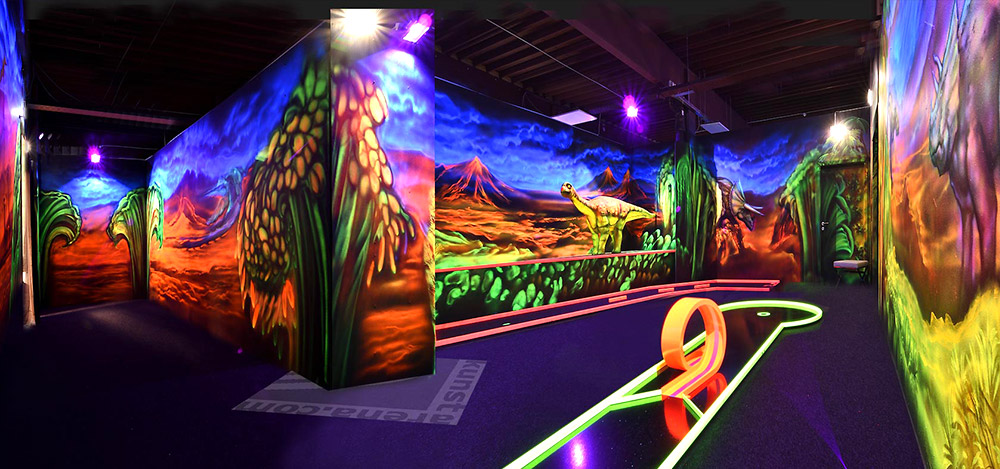
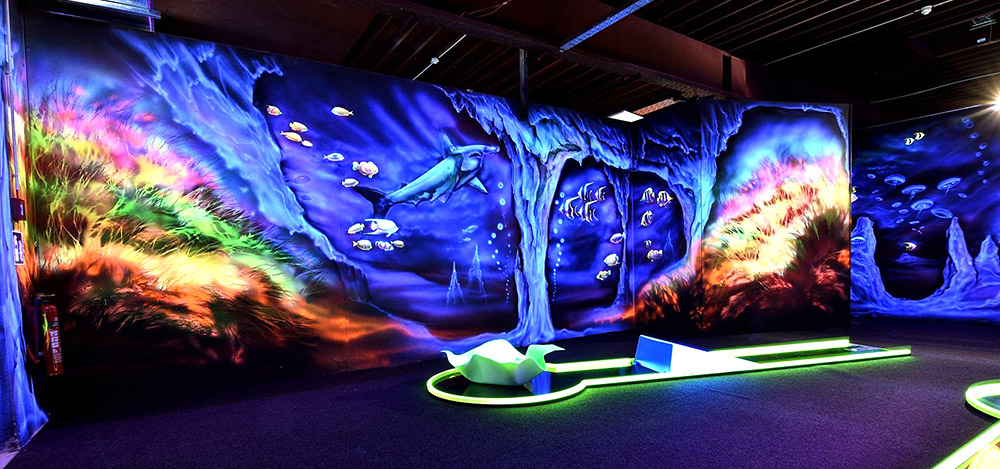
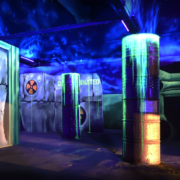
This time I invite you into dark rooms where miniature golf becomes a special experience. Everything is darkened and only the colored images with glowing mini golf elements and courses are visible. At first, movement in such a space is surprising.
Perception changes and after a while everything looks sharp and balances out. In such rooms we feel unsafe at first, until we get used to the strong color change. The pictures alone glow strongly in the UV light. The UV reflection of the color creates a special depth in the picture and creates so many details.
Enchanting effects
Painting in mini golf is about illusory reality. The rooms should give the impression of being in the open air. Various painting motifs build up a specific black light / UV atmosphere, for example under water. You can almost smell the moisture and feel the movements of the fish in the water. In the next room you are in outer space. And in the next but one you can see the most beautiful architecture in the world! All of this is meant to grab our attention and represent a trip around the world. Add the game elements and you have a room full of events.
The whole black light mural is painted in a special way. The luminosity is enhanced with acrylic paints, which can better represent realistic effects. When using the fluorescent colors on a black background, they are hardly visible. That’s why I lighten up the lightest parts of the picture on the black background with normal artists’ acrylic paints. This means that I have to prepare a background to achieve a desired effect. Then I apply UV color a second time. Sometimes I paint on a white background because the luminosity of the UV colors is at its maximum here.
Difficulties & Challenges
Unfortunately, UV inks create a different type of problem. The darkest parts of the picture appear very light to us. We lose contrast in the paintings. Adding a boost to the lows is sometimes harder than just priming everything black and starting over.
The UV active colors are very sensitive. Sometimes it is enough to just touch them with a damp finger and a trace is left behind. This touched area will glow dimmer. The black wall paint in particular is very sensitive. When you touch it, its surface changes, causing lighter spots to appear. The color is partially damaged, as the sprayed UV elements disappear slightly when pressed with a finger.
It’s the same with splashed drinks on the walls. Coke, soda, or coffee will change the top surface of the image so all the stains are visible. Of course, the pictures should be easily washable. Very often visitors leave imprints on the wall with their shoes. Bad and careless handling causes dark blackness up to 40 cm above the ground. Therefore, the finished painting must be glazed after completion to protect the colors.
I have often discussed that I do not start painting without the final lamp design and correct position, as incorrect lighting creates many problems when painting and delays production. Unfortunately, this is difficult to achieve as there is usually no time for it. Due to the provisional light position, I cannot apply the paint in time and in the end I have to rework the entire painting.
Approaches & Techniques
Normal spray guns are best. Unfortunately, you also need a compressor. I’m not always allowed to make a lot of noise in the room, the more often I use Wagner spray guns. Cases hanging from the arm do not weigh as much and are easy to carry. What I find to be a great advantage in contrast to compressor-driven devices – spray guns.
Sometimes for subtleties I use plotted stencils from the foil. With them I can duplicate small elements several times in a short time. Small geometric lights on the constructions enhance the overall look and are easy to inject. I usually prepare the template at home before I start painting.
The fast work would be impossible without tesa tapes. The coarse spray guns distort the contours and I create the sharp edges of the painted things with scotch tape. You should be careful not to tear off the glued tapes and later the color from the background. Especially the moments when we glue and fasten the tapes with finger pressure stick many times stronger than usual. To avoid such obstacles I tear off the tapes immediately after spraying. As long as they are still wet, they don’t stick as well and can be easily removed. These are the most important remarks when it comes to the technical side of mural painting. Painting alone is already a very complicated thing and every art painting develops its own painting techniques. Applies in this case his artistic sensitivity and his taste.
Time time time
Personally, I rush at painting. The most important thing for me is that I finish the big paintings on time, which sometimes comes at a price. I don’t have the time for fine work. I don’t always achieve good originality, especially when I have to finish an object in 2 days and I still have 50 square meters to decorate. In this case, I routinely paint without thinking, which sometimes degrades my entire work to a mural. Compared to other painting techniques, the black light mural painting is much more different. The traditional expressions in which one almost always works with full contrast are missing. In the case of UV colors, we only work with highlights, the brightest parts of the image. The darkest parts, the blackening, are missing. It is quite difficult to add later, because the applied earlier UV color reacts to the smallest influences. Slightly sprayed acrylic paint on UV paints immediately creates dark holes where they are not needed. This technique is reminiscent of a chalk drawing on a black ground on a dark blackboard at school. You could only draw bright letters there. The darkest parts were the background colors.


Leave a Reply
Want to join the discussion?Feel free to contribute!